How to Write a Crochet Pattern (10-Step Guide for Beginners)
Hey friend!
First of all, congratulations on taking this first step toward your dream. Deciding to write your first crochet pattern is exciting, and I’m so happy you’re here.
If you’re feeling nervous, don’t worry—you don’t have to figure everything out on your own. This is where the fun begins.
When I wrote my first pattern, I had absolutely no idea what I was doing. I learned through plenty of trial and error, and improving with every pattern. I’ve written over 100 crochet patterns across a variety of niches now, and I’ve discovered that pattern writing doesn’t have to feel overwhelming.
I slowly discovered a simple process that also happens to be the one many professional crochet pattern designers follow. I wish someone had shared it with me when I first started.
In this article, I’ll walk you through the 10-step system I use every time I create a crochet pattern from scratch. Along the way, you’ll find practical action steps so you can put what you’re learning into practice right away instead of wondering what to do next.
I’ve also created a FREE Crochet Pattern Design Workbook to accompany this guide.
It includes checklists, planning pages, and worksheets to help you organise your ideas, record your progress, and work through each step as you design, write, test, and launch your crochet pattern.
🎁 Download your FREE Crochet Pattern Design Workbook Now!
Before we start making a crochet pattern:
Who is this post for?
This guide is for you if:
- You love creating your own crochet designs and are ready to turn them into written patterns.
- You often modify existing patterns and want to start designing original projects.
- You’ve written one or two patterns already but still feel like you’re guessing your way through the process.
- Writing a pattern takes you weeks or even months because you’re unsure what to do next.
- You want a clear, repeatable system that makes crochet pattern writing easier, faster, and less stressful.
- You want to build a crochet business by designing and selling your own patterns.
Is pattern writing just for designers?
In my opinion, writing patterns isn’t just for designers. Sometimes we create a beautiful project and scribble our notes on scraps of paper. Then, if we ever want to crochet it again, it’s almost impossible! If we write everything down as we create it, we’ll save ourselves that frustration. You can even share those patterns with friends and family. For this purpose, you can write them however you like.
However, this post is specifically for anyone who wants to become a crochet designer and sell their own crochet patterns. If that’s your goal, these are the exact steps I recommend following.
So, is there a correct way to write crochet patterns?
There are no set rules or certification courses for crochet pattern writing. However, there are industry standards and best practices we should follow so that anyone can crochet our designs and so that we can reach a global audience.
Why is writing good crochet patterns important?
We want as many people as possible to be able to read our pattern, successfully crochet our project, and enjoy the experience. Happy crocheters are much more likely to recommend our patterns to others and come back for more.
So be as creative as you want while designing, but follow good pattern-writing practices so your patterns are clear, easy to follow, and accessible to a universal audience.
How do you know your pattern is a success?
Many people think a successful pattern is simply one that sells well. While sales are important, they don’t tell the whole story. A pattern might even go viral by accident, but if it’s full of errors or difficult to follow, people are less likely to leave good reviews, recommend it to others, or buy from you again. We need this for our business to grow.
So how do you know your pattern is a success?
When a crocheter sends you a photo of their finished project without asking any questions, leaves you a lovely review, or tells you how easy your pattern was to follow, that’s a success.
The better your pattern is, the easier it becomes to sell crochet patterns.
Pic
If people can follow your pattern without needing your help, your patterns can continue selling while you sleep. But if customers constantly need to contact you with questions, your business becomes much more active than passive.
✅ Articles You Might Also Like
- If you’re writing your very first pattern, be sure to check out my blog post on How to Write Your First Crochet Pattern for extra beginner-friendly tips. The process for writing your first pattern is slightly different.
- If you’re writing a garment pattern, I have a blog post coming soon, so subscribe to my newsletter so you don’t miss it.
- If you’re wanting to design a hat, you can check out this article here.
I’ve also created a FREE Crochet Pattern Design Workbook to accompany this guide, use them as you follow along with this guide!
🎁 Download your FREE Crochet Pattern Design Workbook Now!
The 10 Steps to Writing a Crochet Pattern to Sell
These are the exact steps I follow when writing my crochet patterns. They aren’t set in stone, and as you gain experience, you’ll naturally adapt the process to suit your own design style and the type of project you’re creating.
Step 1: Develop Your Design Concept
Before you pick up your hook, you need to have a clear vision of what you want to create. Professional designers don’t just start crocheting randomly and hope something works out. They begin by developing an idea and thinking through the design.
Your idea can come from anywhere:
- A stitch pattern you love.
- A yarn that inspires you.
- A gap you notice in the crochet market.
- A style or trend you want to create your own version of.
- A request or need from your audience.
- Something that inspired you.
Many successful patterns are based on simple ideas. The most important thing is that your design is truly yours, and has a purpose.
Define Your Design
Before you start crocheting, ask yourself:
What am I creating?
- Is it an accessory, garment, home decor item, or something else?
Who is this pattern for?
- Is it beginner-friendly?
- Is it designed for experienced crocheters?
- Is it a quick weekend project or a more detailed design?
What will make this design stand out?
- Why will someone notice your pattern in the sea of other patterns?
Create a Sketch or Plan
Before you begin crocheting, sketch your idea or write down your vision.
Your sketch does not need to be perfect. You do not need to be an artist to be a crochet designer! The purpose of a sketch is simply to help you visualize the finished project and remember your original idea.
Depending on the type of pattern you’re designing, your notes might include:
- The shape and style of the finished piece.
- Construction details.
- Stitch ideas.
- Color choices.
- Measurements you want to achieve.
Keep all your design notes together in one place. A notebook, design journal, or digital document can become your pattern development record.
Research and Inspiration
Before starting your design, take some time to look at what already exists. This does not mean copying another designer’s work.
Instead, research helps you understand:
- What styles are popular.
- What customers are looking for.
- What makes your idea unique.
If an idea similar to what you have come up with already exists, its time for you to change yours a bit, or start again.
Action Steps
Before moving to the next step:
- Decide what you want to create.
- Define who your pattern is for.
- Identify what makes your design unique.
- Sketch your idea or write down your plan.
- Gather any inspiration and make a mood board if you prefer.
Step 2: Plan Your Design
How will you actually make it?
Before we start crocheting, let’s take some time to plan how our design will come together. This step will save us a lot of frustration later because we are making intentional design decisions.
Decide the Construction
Think about how your item will be made.
For example:
Garments:
- Will it be worked top-down, bottom-up?
- Will it be made in panels or worked seamlessly in a round?
- How will it be assembled?
Accessories:
- Will it be worked flat or in rounds?
- What shape should it have?
- How will the different parts come together?
For example, if you’re designing a hat, you could choose to work it top-down, bottom-up, or side-to-side.
Home items:
- What size should it be?
- How much yarn will you need?
- What structure will work best?
Decide the Main Design Elements
Think about the details that will make your pattern unique:
- Stitch pattern
- Texture
- Color choices
- Edging
- Pockets
- Hood
- Buttons etc
Remember, you don’t need to add complicated details to make a beautiful pattern.
Think About Measurements
Before crocheting, decide what measurements matter for your design. Make a note of the finished measurements you desire.
Action Steps
- Decide how your design will be constructed.
- Choose your stitches, yarn and hook size.
- Write down your target measurements.
Step 3: Create a swatch and note gauge
Before you start crocheting your project, create a swatch using your chosen yarn, hook, and stitch pattern. This allows you to make sure you’re happy with the fabric, texture, drape, and colours before investing time in the full project.
Your swatch is also where you’ll calculate and record your gauge.
I know gauge can seem scary when you’re just starting out, but I promise it’s much simpler than it sounds. In fact, it’s one of the most important things you’ll learn as a crochet designer. If you’d like to understand it in more detail, I’ve written a complete guide to crochet gauge and swatches that you can read here.
Now is the perfect time to experiment and play. Try different hook sizes, yarn weights, stitch patterns, or colour combinations until you’re happy with the fabric you’ve created. This is where your design really starts to come to life.
Once you’ve chosen your final combination, measure and write down your gauge. I recommend getting into the habit of including gauge in every pattern you write—even if gauge isn’t critical for that particular project. Building this habit early will make you a much stronger pattern writer.
If your pattern will be available in multiple sizes, now is also a good time to decide which sizes you’ll include. Use your gauge to calculate your stitch counts and measurements for each size. If maths isn’t your favourite thing, a simple spreadsheet can make this process much quicker and easier.
Action Steps
Before moving to the next step:
- Crochet a swatch using your chosen yarn, hook, and stitch pattern.
- Make any adjustments until you’re happy with the fabric.
- Measure and record your gauge.
- Calculate your sizes.
- Plan your size or sizes and calculate your needed stitch counts.
- Confirm that every size works on paper before you crochet. This simple step can save hours of frogging and rewriting. ⭐
Step 4: Write a Rough Draft
Why draft your pattern first?
You might be wondering why we’re writing a rough pattern before we’ve even crocheted the project.
Think of it like building a house—you wouldn’t start laying bricks without a blueprint. It helps you spot potential problems early. You may realize a size doesn’t quite work, that your stitch counts don’t add up, or that the construction could be simpler. Making these changes on paper is much quicker than frogging hours of crochet.
This is a habit many experienced crochet designers develop over time. Rather than trial and error while crocheting, they plan first, crochet with intention.
Adopting this workflow from the beginning will make the entire design process smoother, less frustrating and frogging, and much less stressful.
Create Your Draft
Now that you’ve planned your design and calculated your stitch counts, it’s time to create the first draft of your pattern.
Don’t worry about making it perfect. It’s simply a working version that you’ll update as you crochet.
Your pattern will eventually have three main sections:
1. The introduction
Fill in as much information as you can, such as the project description, materials, gauge, finished measurements, and any notes you’ve already planned.
2. The main pattern
Using your gauge calculations and stitch counts, write a rough version of the pattern instructions.
3. The finishing section
Make a simple plan for any seaming, edging, borders, fastening, blocking, or other finishing touches your project will need.
As you’re drafting, leave yourself notes or reminders wherever needed. These can be ideas to test, measurements to check, or anything else you don’t want to forget while crocheting.
Action Steps
Before moving to the next step: Write a rough draft of your pattern.
Step 5: Crochet Your Project and Record Everything
This is the part we all enjoy the most—it’s finally time to start crocheting!
As the designer, you’ll also be the first tester of your pattern. Follow the rough draft you’ve created and pay close attention to how everything works together.
As you crochet, keep your draft pattern updated with any errors you find and correct them. This will save you from trying to remember them later.
Take plenty of photos throughout the process too. Capture key construction steps, special techniques, and, of course, the finished project. Don’t worry about taking too many photos—you can always delete the ones you don’t need later.
Once you’ve finished crocheting, read through your draft pattern from beginning to end. Check that your stitch counts are correct, your instructions match what you actually crocheted, and that there are no missing steps, confusing wording, or obvious errors. The cleaner your draft is now, the easier it will be for your pattern testers to follow later.
Action Steps
Before moving to the next step:
- Crochet your project by following your rough draft.
- Update your draft with any changes as you crochet.
- Take photos throughout the process.
- Review your draft and correct any mistakes or missing information.
Step 6: Write Your Pattern
Now it’s time to turn your draft into a professional crochet pattern.
Use a pattern template, checklist, style sheet to make sure you include all the essential information and keep your formatting consistent. Your pattern should be clear, well-organized, and easy to follow.
A typical crochet pattern includes:
- Materials, gauge, sizes, and abbreviations.
- Pattern notes and instructions.
- Finishing instructions.
- Photos, charts, or schematics (if needed).
- Copyright and contact information.
Once you’ve finished writing, format your pattern as a clean, easy-to-read PDF using the software of your choice. Add any helpful photos you took while crocheting. Some designers like to place all the photos at the end of the pattern so crocheters can print the written instructions without printing lots of images.
Action Steps
Before moving to the next step:
- Write your final pattern.
- Format it to share in the form of a Crochet Pattern PDF with tech editor and testers.
Step 7: Tech Edit and Test Your Pattern
No matter how experienced you are, every pattern is likely to have a few errors or areas that could be improved. That’s completely normal, which is why tech editing and pattern testing are essential before publishing. Tech edit first, then test, this order is important.
Start by giving your pattern one final review. Check your stitch counts, measurements, materials, abbreviations, and instructions, and fix any obvious errors. The cleaner your pattern is, the less time your tech editor will spend fixing simple mistakes.
Next, send your pattern to a tech editor. They’ll check your pattern for accuracy, consistency, and clarity, helping you catch issues before testers see them.
Once you’ve made those revisions, send your pattern to testers. They’ll crochet your design using only your written instructions and provide valuable feedback on anything that’s confusing, missing, or doesn’t work as expected.
If you’d like to learn more about tech editing and pattern testing, subscribe to my newsletter! I’ll let you know as soon as I publish my complete guides, where I’ll walk you through each step in detail.
Action Steps
- Review your pattern and fix any obvious errors.
- Have your pattern tech edited.
- Revise your pattern using the tech editor’s feedback.
- Send your pattern to testers.
- Make your final revisions before publishing.
Step 8: Prepare for Launch
While your pattern is being tech edited and tested, use that time to prepare for launch.
Take your final photos, write your product listing, decide on your pricing, and prepare your social media posts. Once you’ve made the final changes from your tech editor and testers, you’ll be ready to publish. So start teasing your pattern.
After you’ve made those final revisions, add your photos, give your pattern one last proofread, and export it as a final PDF.
If you’d like a detailed guide to preparing and launching a crochet pattern, subscribe to my newsletter and I’ll let you know as soon as it’s published.
Action Steps
- Take your final photos.
- Prepare your product listing and pricing.
- Create your launch content.
- Export your finished pattern as final PDF.
Where Should You Publish Your Pattern?
If you’re just starting out, I recommend publishing on Etsy. It’s easy to set up, beginner-friendly, and already has a large audience searching for crochet patterns.
🎉 Opening your first Etsy shop?
Use my referral link to get 40 free Etsy listings. Each listing normally costs $0.20 USD, so this helps you save on your first listings while setting up your shop.
Step 9: Launch Your Pattern
Congratulations—it’s finally launch day!
Upload your finished PDF to the platforms where you’d like to sell it. Many designers start with Etsy because it already has a large audience of people looking for crochet patterns. You may also choose to sell on Ravelry, Ribblr, LoveCrafts, your own website, or any other platform that suits your business.
Before you click publish, double-check that your PDF, listing description, photos, pricing, and download files are all correct.
Then take a deep breath and hit Publish.
CONGRATULATIONS!
Action Steps
- Upload your pattern to your chosen platforms.
- Double-check your listing and files.
- Publish your pattern.
- Celebrate your achievement!
Step 10: Promote Your Pattern
Publishing your pattern isn’t the finish line—it’s just the beginning.
Now it’s time to let people know your pattern exists! Share it on Instagram, Facebook, Pinterest, TikTok, YouTube, or whichever platforms you use. Send an email to your subscribers and ask your pattern testers if they’d be happy to share photos of their finished projects.
One of the biggest mistakes new (and seasoned me included) designers make is promoting a pattern once and never mentioning it again. Keep sharing your pattern over the following weeks and months. Every post reaches new people, and your pattern can continue selling for years.
As your sales grow, remember that great customer service is part of running a successful crochet design business. Answer questions politely, listen to feedback, and keep improving with every pattern you publish.
Action Steps
- Share your pattern on your social media platforms.
- Email your subscribers about your new release.
- Ask your testers to share their finished projects.
- Continue promoting your pattern regularly.
- Start planning your next design!
Frequently Asked Questions
Can anyone write a crochet pattern?
Absolutely! Any crocheter can learn to write a crochet pattern. Like any skill, it takes practice. Your first pattern probably won’t be perfect, but every pattern you write will help you become a better designer and pattern writer.
Do I need to copyright my crochet pattern?
In most countries, your written pattern is automatically protected by copyright as soon as you create it by Berne Convention. A copyright notice can remind others that your work is protected, but it isn’t usually required. If you’re unsure about the laws in your country, it’s always worth doing some research or seeking legal advice.
How long does it take to write a crochet pattern?
It depends on the complexity of the design. A simple accessory may take a few days, while a graded garment can take several weeks for a new designer. As you gain experience and develop a consistent workflow, you’ll become much faster. I can write a graded pattern for a garment in 9 sizes in 4-6 hours.
Can I sell my crochet patterns?
Yes! Many crochet designers sell their patterns on platforms like Etsy, Ravelry, Ribblr, LoveCrafts, or their own website. Before publishing, make sure your pattern has been tech edited and tested so your customers receive the best possible experience.
Do crochet patterns need to be tested?
I highly recommend it. Pattern testers help identify confusing instructions before your pattern is published. Their feedback helps you create a clearer, more reliable pattern.
What’s the difference between tech editing and pattern testing?
A tech editor checks your pattern for technical accuracy, including stitch counts, sizing, consistency, and clarity. Pattern testers then crochet the pattern using only your written instructions to make sure it works in practice. Both play an important role in creating a professional pattern.
Do I need to include gauge in every crochet pattern?
I recommend including gauge in every pattern, even if it isn’t essential for the project. It helps crocheters achieve a finished project that’s closer to your sample and encourages good pattern-writing habits. It also potrays you as a professional designer.
What software should I use to write crochet patterns?
Use whatever software you’re most comfortable with. Many designers use Microsoft Word, Google Docs, Canva, or Adobe InDesign. The most important thing is creating a pattern that’s clear, well-organized, and easy to read.
There isn’t any software that can create a crochet pattern for you. While AI and other tools can help with tasks, they can’t replace the design process or your role as the designer. Designing a pattern requires your creativity, planning, and expertise.
FINALLY
I want to leave you with a thought. If you want to save the time and frustration on researching and creating a process that works for every pattern, book a call with me below, and let me help you save time and avoid the mistakes I made!
I would love to see what designs you create. Please tag me on Instagram/ Facebook with your creations. Subscribe to my newsletter for new designs and tutorials by me and for new articles for designers.
Thank you so much for reading my how to design a crochet pattern article,
Aki
CLICK TO PIN ME FOR LATER!
Copyright & Permissions
All content in this pattern, including instructions, photos, and design, is protected by copyright © Let’s All Crochet.
- This pattern is for personal use only. It may not be copied, altered, translated, resold, taught in classes, or redistributed in any form (digital or physical).
- You are welcome to sell finished items made from this pattern on a small scale, but please use your own photos when promoting your work. Credit to Let’s All Crochet as the pattern designer is appreciated.
- If you’d like to share this pattern, you may share one photo and a direct link to the pattern on crochetwithakita.com. Please do not share or repost the instructions themselves.
This free crochet pattern is provided by Let’s All Crochet for personal use and complies with EU GPSR safety requirements. Read more here

Lorem ipsum dolor sit amet, consectetur adipiscing elit. Ut elit tellus, luctus nec ullamcorper mattis, pulvinar dapibus leo.
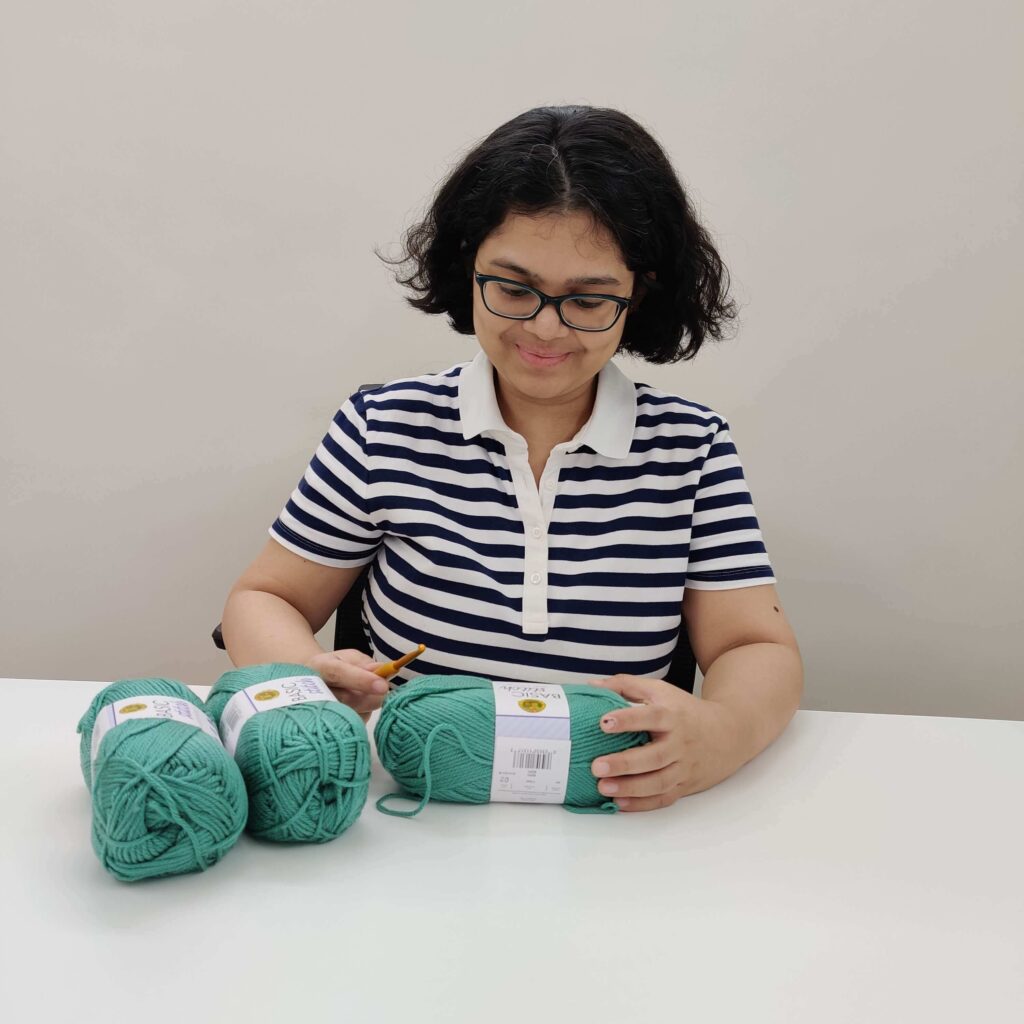
Hey, I’m Aki!
Crochet has been a huge part of my life for the past few years, and I still can’t believe I get to do this every day because of wonderful people like you. I’m so happy you’re here!
I design fun, unique crochet patterns with beginner-friendly video tutorials because I believe you should never feel limited—in crochet or in life!